| A
: To connect your RaidenFTPD to the database system using ODBC and enjoy
lots of new database only features , you first need to install a DBMS
, we'll recommend this one MySQL™ , it's not free unless you meet
their requirements , but you can decide if you wish to buy it or not by
yourself.
note : RaidenFTPD supports the following DBMS through ODBC MS-SQL 2000+, IBM DB2 8.1.X+, MS-ACCESS 2000+, MySQL 3.5X+,4.0x,4.1x,5.0x, PosgreSQL
1.
download latest v3.5x or v4.x builds for Win32 from www.mysql.com
2.
un-zip the package and run setup.exe
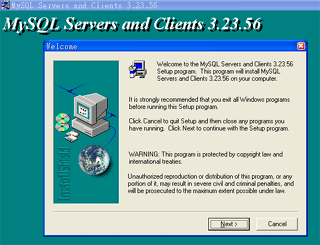
be
sure to install to the c:\mysql , the default location
, we'll use this path in the whole tutorial , unless you
know what you are doing , do not change it. |
3.
starting up the administration interface
use
windows explorer to open this file c:\mysql\bin\winmysqladmin.exe
, double click on it to launch it.
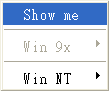
after
it's started , locate its icon on the task bar

if
your mysql server is started , the indicator light is
green , now right mouse click on it and click show
me
You
can see the server options and setup the system service
startup options by this tool , but you need another tool
for database management
now
we are going to create the necessary database , use windows explorer to open this file c:\mysql\bin\mysql.exe, double click on it to launch it and you will see a command prompt window , simply type CREATE DATABASE raiden; and hit enter and your database is created , if you don't like this command prompt way , don't worry we'll introduce another GUI based administration tool later , although it will require extra setup procedure .
Welcome
to the MySQL monitor. Commands end with ; or \g.
Your MySQL connection id is 2 to server version:
3.23.56-nt
Type
'help;' or '\h' for help. Type '\c' to clear the
buffer.
mysql>
CREATE DATABASE raiden;
Query OK, 1 row affected (0.02 sec)
mysql>
|
|
4.
remember your default database manager account and password
| after
you installed MySQL™ Your default root account is
root
and
your default root account password is empty (an empty
string , 0 byte long)
and
you are allowed to connect to your MySQL™ by this
account and password via localhost loopback network
|
5.
installing ODBC driver for MySQL™
6.
configuring MySQL™
Connector/ODBC
start
Data Source (ODBC) administration utility from control
panel

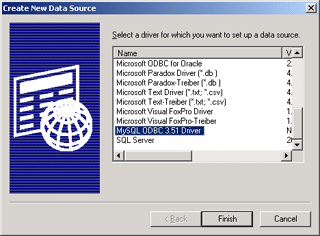
click
on the system dsn tab , and then click add...

click
on the MySQL ODBC 3.51 driver and then click Finish
now
configure this data source you just added , remember the
user/pass we have are still using default values , you
can alter it later when you learned how to manage your
MySQL™
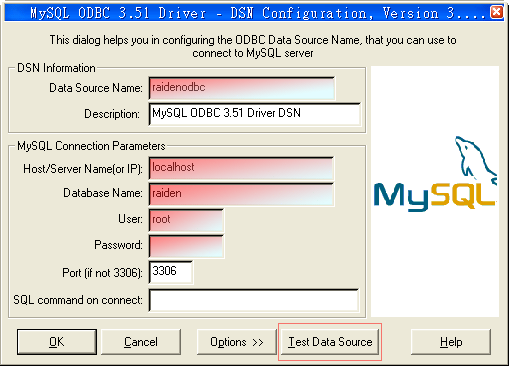
now
click the Test Data Source button , and you should get
a successful message

now
your MySQL™ and ODBC are ready for RaidenFTPD ODBC
support
|
7.
a few words
security
is a very important issue when using database systems
, we'll introduce some basic database management concepts
next time in another article
|
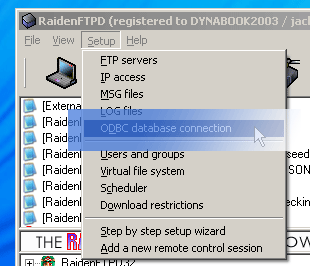
8. configuraing RaidenFTPD to use ODBC
Open raidenftpd.exe and goto menu-setup-odbc database connection
note : a valid advanced license is required before you can use this feature.
|
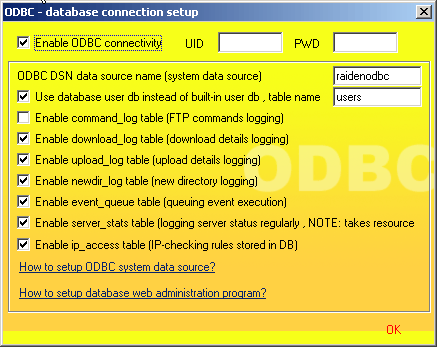
Now just enable odbc and enter the odbc data source name you just setup.
note : when using mysql odbc, we already entered the username/password in odbc data source setup so we don't need enter it again here.
note : when using ms sql server odbc, no matter you entered username/password in odbc data source setup or not, you HAVE TO enter it again here. |
Now click Ok to continue, if everything is correct, you will see the following messages in RaidenFTPD startup messages.
|

What are the available tables and schemas of RaidenFTPD? Take a look at your raidenftpd program directory and find this sql directory and you will see all the table schemas and table creation commands. |
|
That's
ALL |